Well, I have another failed top to add to the scrap heap. I didn't bother photographing or blogging my first failed two tops!

I'm still quite new to sewing and recently encountered a poly stretch fabric that my needles just couldn't seem to pierce consistently. Not the best project to break a 5 month sewing hiatus with! I started off with a ballpoint needle, triple zig zag stitch and a normal straight stitch foot.

I tried different stitch widths, lengths and reducing the foot pressure. Nothing improved. Then I found some stretch needles I had forgotten I'd bought, with my walking foot still on reduced foot pressure and it was better, but it was not much better.

It's been consigned to the scrap heap now as I just couldn't wear it, all the fabric gathered up while sewing and I had to stretch out the fabric to ease it out. I forgot once to leave the thread tails super long and had to resew half the seam! Stretching the seams also meant that sometimes the thread ripped. At other points it acted like a drawstring and I had to feed the thread back through and even out the gathers from the stitches. It was just really frustrating.

I might go back another day once I've played around a lot more. There's nothing wrong with the pattern, it's just that I don't know how to handle the fabric and I'm too inexperienced to help my machine out more.
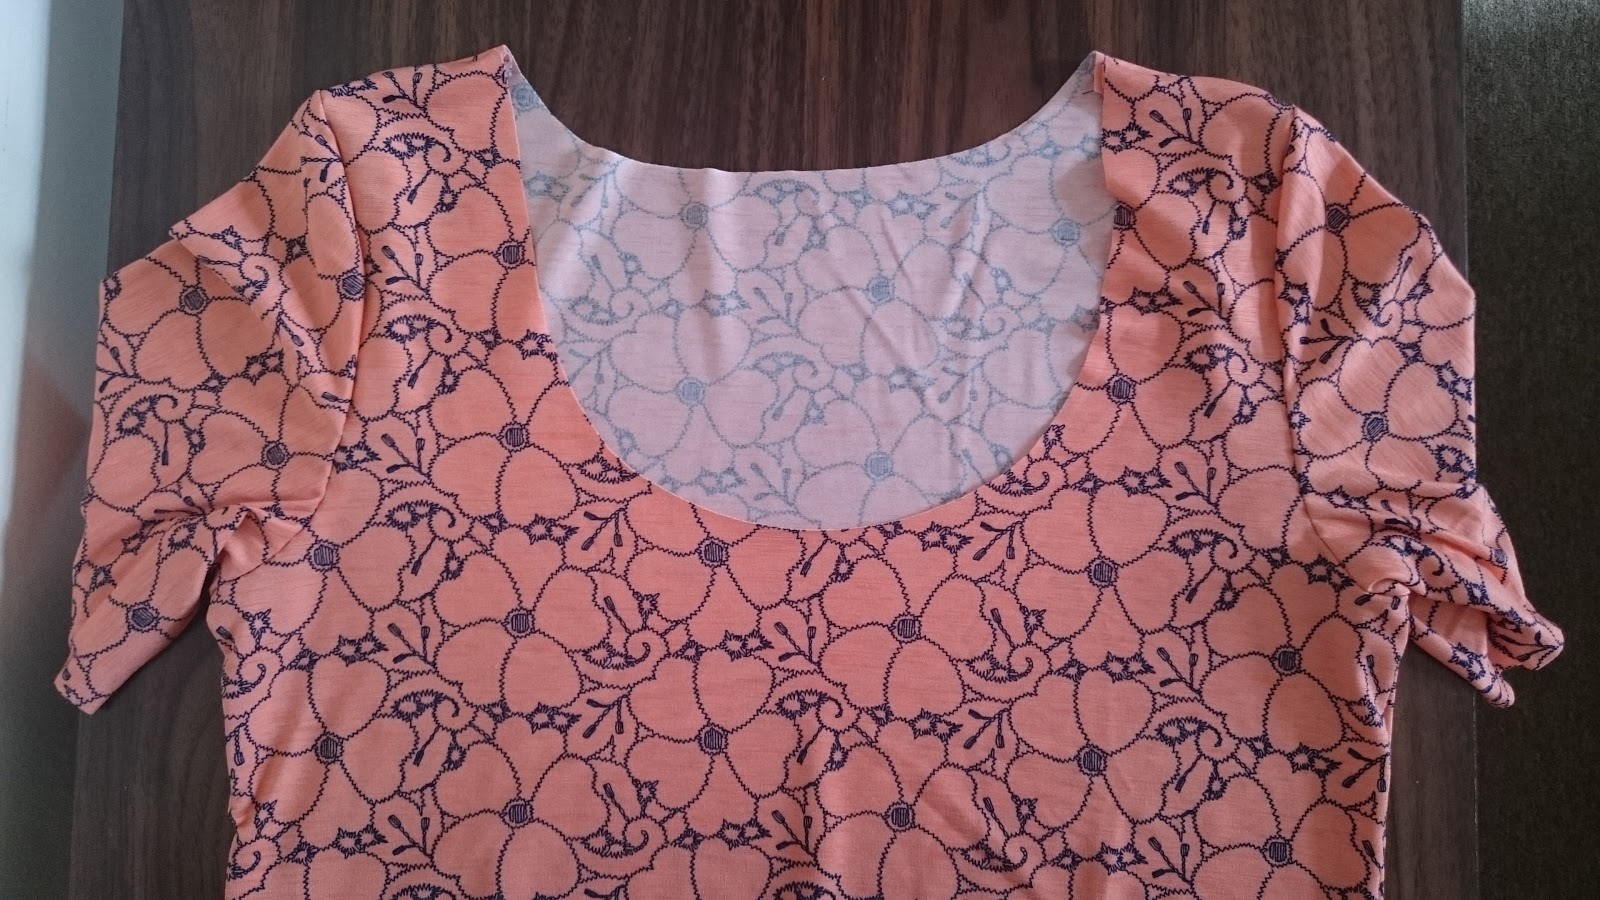
On the plus side though, I sewed my first ever set in sleeves! That feels like a pretty big win!!
Things I liked:
First time sewing set in sleeves - the finish looks a lot cleaner than I'd hoped for considering it's a 3 step zig zag stitch and I really struggled to pin the fabric together.
Things I disliked:
The fabric - it's a mystery content 'stretch poly' fabric from eBay, but it acts completely different to the viscose elastane grey fabric I've used before. This fabric feels almost like it's elasticated. The machine really didn't get on with it ad the needle kept bouncing off.
The fit - it's very clingy in all the wrong places and makes me feel a stone heavier. I guess I prefer less negative ease on my clothes, at least with this fabric.

I'm still quite new to sewing and recently encountered a poly stretch fabric that my needles just couldn't seem to pierce consistently. Not the best project to break a 5 month sewing hiatus with! I started off with a ballpoint needle, triple zig zag stitch and a normal straight stitch foot.

I tried different stitch widths, lengths and reducing the foot pressure. Nothing improved. Then I found some stretch needles I had forgotten I'd bought, with my walking foot still on reduced foot pressure and it was better, but it was not much better.

It's been consigned to the scrap heap now as I just couldn't wear it, all the fabric gathered up while sewing and I had to stretch out the fabric to ease it out. I forgot once to leave the thread tails super long and had to resew half the seam! Stretching the seams also meant that sometimes the thread ripped. At other points it acted like a drawstring and I had to feed the thread back through and even out the gathers from the stitches. It was just really frustrating.

I might go back another day once I've played around a lot more. There's nothing wrong with the pattern, it's just that I don't know how to handle the fabric and I'm too inexperienced to help my machine out more.
On the plus side though, I sewed my first ever set in sleeves! That feels like a pretty big win!!
Things I liked:
First time sewing set in sleeves - the finish looks a lot cleaner than I'd hoped for considering it's a 3 step zig zag stitch and I really struggled to pin the fabric together.
Things I disliked:
The fabric - it's a mystery content 'stretch poly' fabric from eBay, but it acts completely different to the viscose elastane grey fabric I've used before. This fabric feels almost like it's elasticated. The machine really didn't get on with it ad the needle kept bouncing off.
The fit - it's very clingy in all the wrong places and makes me feel a stone heavier. I guess I prefer less negative ease on my clothes, at least with this fabric.


